Table of contents
- Email marketing and deliverability lingo:
- Maintaining a Clean Email List
- Using a Professional Email Service Provider (ESP)
- Creating Engaging Email Content
- Be consistent
- Testing Your Emails Before Sending
- Testing your email deliverability with GlockApps
- Testing your email deliverability with Mail-Tester
- Gmail postmaster tool
- Where to store your images
- Monitoring Your Email Metrics
- Conclusion
Gmail is one of the most popular email clients globally, and ensuring your emails reach your subscribers’ inboxes can be challenging. This article explores the best practices for improving your Gmail deliverability and achieving high inbox placement rates.
But before we get into the details, let’s talk about some email lingo.
Email marketing and deliverability lingo:
DKIM (“DomainKeys Identified Mail.”)
DKIM is a method used to check that an email was sent by the domain it says it’s from and hasn’t been tampered with during transmission.
Here’s how it works in simple terms:
- Creating the DKIM Signature: When an email is sent from a domain with DKIM set up, the outgoing mail server generates a unique DKIM signature for that email. This signature is created by taking parts of the email and encrypting them using a private key that only the sender knows.
- Sending the Email: The DKIM signature is then added to the email headers and sent to the recipient’s mail server.
- Checking the DKIM Signature: When the recipient’s mail server gets the email, it checks the DKIM signature. It does this by getting the sender’s public key (which corresponds to the private key used to create the signature) from the DNS records of the sender’s domain. It then uses this public key to decrypt the DKIM signature and gets the encrypted original parts of the email.
- Verifying the Email: The recipient’s mail server can then compare these original parts of the email to the actual parts of the email it received. If they match, that means the email wasn’t tampered with during transmission, and it really was sent by the domain it says it’s from.
So, in essence, DKIM is a way of ‘signing’ emails to prove they really came from you and haven’t been changed along the way. This helps prevent email spoofing (where someone sends an email pretending to be someone else) and increases the chances of your emails being delivered successfully.
DMARC (“Domain-based Message Authentication, Reporting, and Conformance.”)
DMARC is a way of helping email receivers (like Gmail or Yahoo) to know whether an email claiming to be from your domain is genuinely from your domain. It builds upon two existing mechanisms – SPF (Sender Policy Framework) and DKIM (DomainKeys Identified Mail)- both methods to verify emails.
Here’s how DMARC works in a nutshell:
- Setting up DMARC: As an email sender, you set up a DMARC policy in your domain’s DNS records. This policy tells email receivers how to handle emails claiming to be from your domain if they fail SPF or DKIM checks. For example, you might instruct receivers to reject these emails or to quarantine them (i.e., put them into the spam folder).
- Sending the Email: When you send an email, it goes with your domain’s DMARC policy.
- Checking the Email: The receiver checks the incoming email with SPF and DKIM. If both checks fail, then it refers to your DMARC policy.
- Acting on the DMARC policy: Based on your DMARC policy, the receiver decides what to do with the email. The email will be rejected if the policy says to reject emails that fail SPF and DKIM checks.
- Reporting: The receiver sends reports back to you about which emails claiming to be from your domain passed and which failed DMARC checks. This is great because it lets you see whether anyone’s trying to impersonate your domain.
So, in simple terms, DMARC is like giving email receivers a set of rules about how to handle emails claiming to be from your domain and asking them to send you reports about how these emails are being handled. It’s a way of protecting your domain from being used for spam or phishing.
SPF (“Sender Policy Framework.”)
SPF is a way to prevent people from sending emails that look like they’re from your domain when they’re not. It’s a method of fighting email spoofing, a common trick in spam and phishing attacks.
Here’s how SPF works:
- Setting up SPF: As an email sender, you create a list of all the authorised servers to send emails from your domain. This list is saved in your domain’s DNS records as your SPF record.
- Sending the Email: When a server sends an email claiming to be from your domain, it goes to the internet along with the server’s IP address.
- Checking the SPF Record: When the email arrives at the recipient’s email server (like Gmail or Yahoo), this server looks at your domain’s SPF record in the DNS. It then checks if the IP address of the server that sent the email is on your authorised list.
- Deciding What to Do: If the IP address is on your authorised list, the email passes the SPF check, and the email is generally accepted. If the email fails, the SPF check if the IP address isn’t on your list. The receiving email server then decides what to do based on its policies – often, it’ll mark the email as spam or reject it.
So, SPF is like a bouncer at the club door. You give the bouncer a list of your friends who are allowed in, and if someone who’s not on the list tries to get in, they’re turned away. This helps protect your domain’s reputation and your email recipients from potentially harmful emails.
These “records” are meant to stop spammers and hackers from sending unauthorised messages.

Maintaining a Clean Email List
Maintaining a clean email list is essential for achieving high Gmail deliverability rates. A clean email list free from invalid, inactive, or unengaged subscribers can reduce the risk of hard bounces, spam complaints, and other factors that can negatively impact your sender’s reputation. To maintain a clean email list, follow these tips:
- Regularly remove inactive or unengaged subscribers.
- Use double opt-in to confirm subscribers’ email addresses.
- Segment your email list to send targeted and relevant emails.
- If you haven’t your list in a long time, or you “find” a large list of people, I suggest you run them through a tool like https://neverbounce.com/ to scrub any stale, invalid or inactive email addresses. And they also remove potential Spam traps.
Using a Professional Email Service Provider (ESP)
Using a professional email service provider (ESP) is crucial for achieving high Gmail deliverability rates. A reputable ESP can help you manage your email list, provide advanced analytics, and offer email authentication protocols such as SPF, DKIM, and DMARC. When choosing an ESP, consider the following:
- Look for an ESP with a good reputation for email deliverability.
- Choose an ESP that offers email authentication protocols.
- Consider the features and pricing of the ESP before making a decision.
We use https://sendgrid.com/ for our transactional and bulk email.
Creating Engaging Email Content
Creating engaging email content is key to maintaining high subscriber engagement and avoiding spam complaints. Follow these tips to create engaging email content: ensure that the subject line and preview text is compelling and relevant to your audience when writing your emails. Use clear and concise language, and include a strong call to action that encourages your subscribers to engage with your content.
- Personalise your emails to make them more relevant.
- Use a conversational tone to connect with your audience.
- Test your email content to see what resonates with your subscribers.
Be consistent
Surprisingly, the more emails you send, the less SPAM complaints you get. If you last mailed your list a year ago, and suddenly they’re getting marketing messages from you, there’s a good chance you’ll get a lot of spam complaints.
For most of our clients (with big enough lists), the more they mail, the more money they make. But they also get more unsubscribed. Which is OK. That means people see your email and decide they don’t want to receive it anymore.
Testing Your Emails Before Sending
Testing your emails before sending them is important in ensuring they reach your subscribers’ inboxes. Send test emails to various email clients to ensure your emails are rendering correctly and not flagged as spam by email filters. Follow these tips to test your emails:
- Test your emails on different devices and email clients.
- Check your email content for grammar and spelling errors.
- Check your email’s formatting to ensure it is rendering correctly.
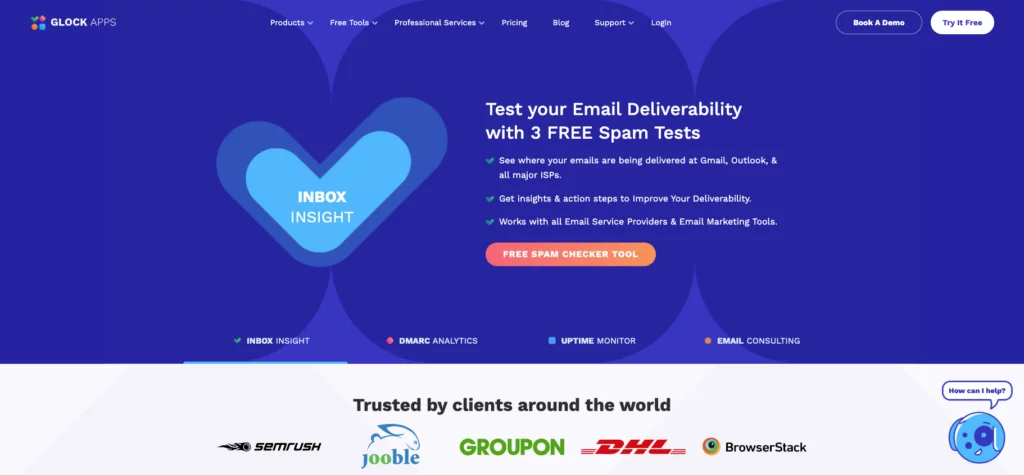
Testing your email deliverability with GlockApps
https://glockapps.com/ is one of the email deliverability tools we use to monitor and analyse Dmarc Reports. It offers a variety of features designed to help you test and analyse your emails, such as ad-hoc email testing and ongoing recurring email deliverability testing.
Here are some of the main features of GlockApps:
- Spam Testing: GlockApps can test your emails’ performance against various spam filters. This can help you understand if there’s something in your emails that’s triggering these filters and causing your emails to be marked as spam.
- Inbox Placement Testing: GlockApps can help you understand where your emails end up: in the recipient’s inbox, spam folder, or another location. This can help you diagnose deliverability issues.
- Email Analytics: GlockApps also provides detailed analytics about your emails. This can include information about open rates, click rates, and more.
- Blacklist Monitoring: GlockApps can check if your sending IP, or domain has been blacklisted, which can seriously affect your email deliverability.
- DMARC Analytics: GlockApps provides DMARC (Domain-based Message Authentication, Reporting & Conformance) analytics to help you protect your domain from fraudulent use and understand your email authentication setup.
- Bounce Tracking: GlockApps can track bounced emails, which can help you maintain a clean, high-quality email list.
To use GlockApps, you’d typically send a test email to a set of test addresses provided by GlockApps. GlockApps then provides a report with a detailed analysis of your email, including whether it was delivered, if it ended up in the spam folder, if it passed various authentication checks and more.
Testing your email deliverability with Mail-Tester
https://www.mail-tester.com/ is one of the tools we like to use to test the deliverability of emails.
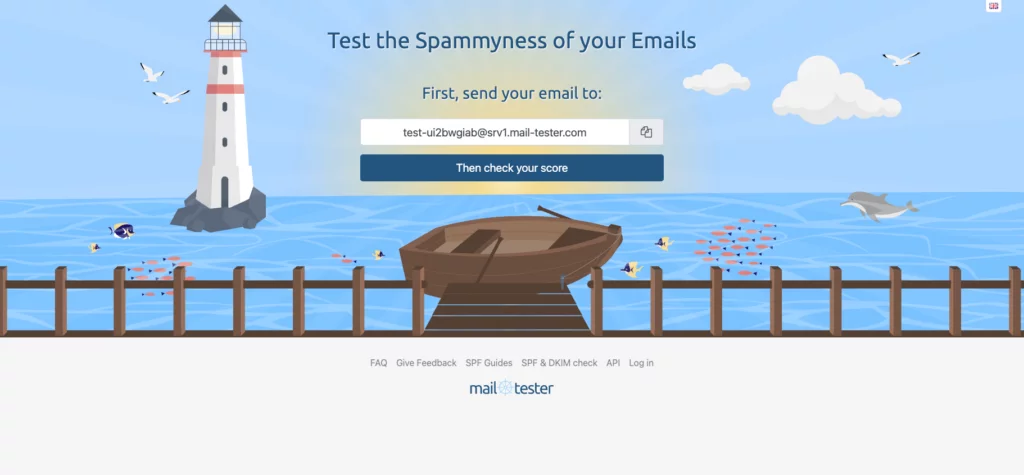
Mail tester works like this:
- Test Email Creation: mail-tester creates a unique email address to which you can send your test email. This email should ideally be representative of the emails you typically send in terms of content, formatting, and metadata.
- Email Sending: You send the test email to the unique address provided by the mail tester tool.
- Analysis: The mail tester tool receives your email and analyses it. It checks for potential issues that might affect deliverability or cause your email to be marked as spam. This can include checking whether the email server is on a blacklist, whether the email is properly authenticated using standards like SPF, DKIM, and DMARC, and whether the email content will likely trigger spam filters.
- Report Generation: After analysing the email, the mail tester tool generates a report. This report usually gives an overall deliverability score and details any issues.
- Improvement: You use the feedback from the report to improve your email deliverability. This could involve technical changes, like adjusting your email server’s configuration and content changes, like modifying the language you use to avoid spam triggers.
Gmail postmaster tool
Gmail Postmaster Tools is a set of features provided by Google to help domain owners understand their email performance in terms of Gmail deliverability. It provides data on delivery errors, spam reports, and other parameters that might affect your domain’s reputation and, ultimately, your email deliverability to Gmail inboxes.
Here’s how it works:
- Setup: First, you need to verify your domain ownership with Google, which involves adding a DNS TXT or a CNAME record provided by Google to your domain’s DNS settings.
- Dashboard: Once your domain is verified, Google provides you with a Postmaster Tools dashboard. This dashboard provides a variety of metrics related to how your emails are performing with Gmail users.
- Metrics: The metrics on the dashboard can include things like:
- Spam Rate: The percentage of your emails that Gmail users mark as spam.
- Domain and IP Reputation: How Gmail perceives your domain’s reputation. This is based on several factors, including bounce rates, complaint rates, and sending to non-existent addresses.
- Feedback Loop (FBL): When a Gmail user marks an email as spam, Google will provide information about these incidents, helping you understand what messages are being flagged.
- Delivery Errors: Detailed information about why some of your emails might not be delivered to Gmail users.
- Authentication-Results: This shows the results of SPF, DKIM, and DMARC authentications for messages sent from your domain.
- Insights: You can use these metrics and data to gain insights into any issues affecting your email deliverability and then take action to fix these issues. For example, suppose many of your emails are being marked as spam. In that case, you might need to review your email content or practices to ensure you’re following best practices for email deliverability.
Remember that Gmail Postmaster Tools is specifically for senders who send a lot of emails to Gmail users (bulk senders), and it’s not typically necessary for individuals or small businesses sending a low volume of emails. Also, it is a tool to monitor and diagnose email deliverability issues, but it doesn’t directly improve your deliverability. Improvement depends on taking action based on the insights you gain from these tools.

Where to store your images
You’d think where you store your images is not that big of a deal. Well, I ran some tests, and it turns out it actually is. The biggest surprise for me was that storing images on Google is Bad. Apparently, the Google Storage API is being abused by spammers.
When I tested my initial welcome email with images stored on Google, most emails went to Google’s promotion folder. I then moved the images to my domain; magically, all images landed in the Primary tab.
How do you know if your images are stored in the right spot? The only way is to run an email deliverability test, for example, with one of the abovementioned tools.
Monitoring Your Email Metrics
Monitoring your email metrics is crucial to identifying and resolving deliverability issues. Pay attention to your email open rates, click-through rates, bounce rates, and spam complaints. By regularly monitoring your email metrics, you can identify any issues and take corrective action to improve your Gmail deliverability. Follow these tips to monitor your email metrics:
- Use email marketing software to track your email metrics
- Set benchmarks for your email metrics and compare them over time
- Segment your email list to compare metrics for different audience groups
Conclusion
Improving your Gmail deliverability requires a combination of factors, including maintaining a clean email list, using a professional ESP, creating engaging email content, testing your emails before sending, and monitoring your email metrics. Following these best practices can improve your Gmail deliverability and ensure that your emails reach your subscribers’ inboxes.